This post may contain affiliate links whereby I receive a small commission for products I link to that are purchased. I only recommend products that I have actually used and love!
 This past December, I had the honor of traveling out to Ft. Collins, Colorado (home of Interweave Knitting) to film two knitting courses for their online learning platform, Craft University. I am so grateful to have had this amazing opportunity to teach! I wanted to give you a peek behind the scenes, because I thought it would be fun for you to learn more about what went into creating these courses 🙂
I was in Ft. Collins for a week, and while there I taught a “Learn to Knit” Course, where I teach all the knitting basics from choosing yarn and needles to how to cast on, how to knit different stitch patterns, and finally how to knit your very own customized hat and glove set! I also taught a “Learn to Knit Cables” Class where I teach all about cables, and we knit a super cute mug cozy and cowl together. These courses are now available on the Interweave site!


The first step in this process was months of preparation. First, I had to create an extensive outline for each course, outlining what topics would be covered, what the key learning points would be for each and every video, an estimate of how long each video would be, what items I would need on set for each video, and exactly what I would say. This part took a while!
 Once I had the course outlines down, the next step was reaching out to a few yarn and knitting needle companies for support on the materials end of creating these courses. I needed A LOT of yarn and A LOT of knitting needles since I had to knit lots of samples and swatches! I am very grateful to Lion Brand Yarn for providing their lovely “Lion’s Pride Woolspun” in a variety of colors to teach with for both of these courses, and Susan Bates for providing knitting needles, stitch holders, and cable needles for the courses. Knit Picks also provided yarn for a show and tell video that we made showing various types of yarns, and provided their super cool Chart Keeper that I used during my cables course so we could read through the cable chart together.


Even though I’ve made a lot of you tube tutorials, I’ve never done that much planning and preparation, so this was a new experience. For example, when I was teaching my Bra Top Tutorial, I just knitted the bra top off camera, and stopped every so often to film what I was doing at places where I wanted to show special techniques. When you are on TV, or for a course like this where everything has to be filmed in a condensed amount of time, you have to knit everything ahead of time in steps. For example, when I was teaching the hat, I had to knit it at 3 stages – after the ribbing portion was finished and we were ready to knit the main part of the hat, at the point where we were ready to start decreasing for the crown of the hat, and up to the last few rows of the hat so that we could finish the hat together.
As you can see below, each item was knit up to 2 or 3 points in the pattern so that when teaching in the video, I could seamlessly move from demonstrating one technique to the next without stopping to knit up to the next point (which, as you know, could take hours!). And in case you’re wondering, yes, that’s my cat’s paw in the photos. She has to make her way into every photo! 😉


After all of the knitting was done, the next step was to put together Girly Knits patterns for each of the new designs I was teaching, and writing up multiple course handouts for the students to reference during the course. I just love teaching knitting and get so excited about someone learning for the first time, so I had a lot of fun with this.
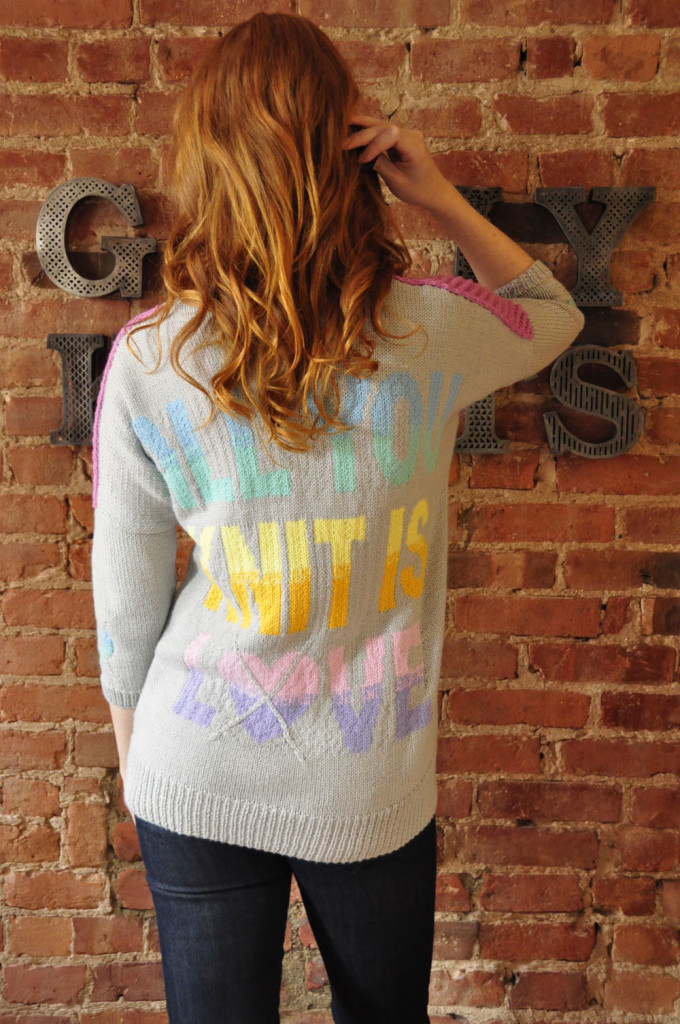
 Then the last step was…OUTFITS! Even though it wasn’t required that I change outfits for each video, I uh sortof ummm, insisted that I did. I’m a fashion designer, what can I say! There was a total of 10 segments, plus a few extra videos that we made for marketing purposes, so I planned accordingly 🙂 I tried to mostly wear items that I had knitted or store bought knits that I liked, but threw in some of my favorite everyday clothes in there as well.
And then of course the very very last step was getting a gel manicure right before I flew out so that my nails would look nice and pretty for their close ups! I got purple because, you know, it’s my favorite color and I can’t help but always picking it for like, everything. A lot of people on set asked me if I had intentionally chosen this color to match my knitting but I didn’t – I just always have purple everything!


 I flew out there on a Monday, and the first day was just for me to unpack and get acquainted with the set. This was my first time doing anything like this (aside from being a guest on Knitting Daily TV), so it was really nice to have a chance to set myself up for the next morning and get organized rather than jump right in. They had a green room set up for me with a little welcome sign and plenty of space to put all of my things, so I felt right at home.
The next morning, the first course of action was getting beautified, woohoo! Interweave has a fabulous makeup artist Keegan, who actually specializes in doing bridal makeup! I loved that because I’m a super girly girl – I’m all about the full coverage, hot pink lips, and false eyelashes – she totally got me and we were insta-friends! She also airbrushed my face which was a first for me and super fun! And in case you’re wondering who did my hair, I can take credit for that – all of the years of practice curling my hair for shows with my dance troupe have paid off 😉


Next step…filming! I was definitely nervous as first because I’m so used to making videos on my own at home with no one watching – I often will film the same thing multiple times because I totally lose track of what I’m talking about, say a word that makes no sense at all, or make a weird face (which I have the control to edit out at least!) This was very different because there were quite a few people watching, I had to release control over how it was edited, and we did most segments in one take. If I made a a flub or mistake, I just corrected it and kept going! And that’s totally fine, I think it comes off more natural that way anyway 🙂
I have this irrational fear that once the camera is on and people are watching I suddenly won’t be able to make coherent sentences, but I actually find the opposite to be true. Despite my fear of speaking in front of people and being shy, I love being on camera! Once we did the first segment I felt totally at ease and in the zone. It was interesting because the talent coordinator was telling me how some people are used to teaching to real people at workshops so they don’t feel comfortable talking to a camera, but since I have mostly taught knitting to cameras, I realized I was pretty in my element there!
Below is a candid moment with Lindsay, the producer, and Garrett the camera man trying on one of my hats – the Large size is perfect for a man! And he didn’t mind the purple, haha.


Filming on this set was really neat because as you might be able to tell from the photos, there were multiple cameras on me at all times, including one above me to get close in shots of me knitting. So I could just do my thing while Garrett made sure to get close up shots of whatever I was talking about or doing. Lindsay was in the control room watching all 3 camera angles to make sure that everything was shot nicely and that everything I was saying and doing was clear for the students. We made a great team!


In addition to teaching the courses, we made a fun you tube video of me showing how to make a mini garter stitch bow that you can pin in your hair. Here is Garrett below getting some “interesting” angles for this video! The finished video is now on you tube and you can check it out here!
Lastly, Interweave had their in house photographer take some up close photos of me demonstrating casting on, knitting, and purling for the students to reference after watching the videos. The photos came out really neat!


After 3 straight days of filming I was pretty spent, but as you can probably tell, we had a lot of fun and I was doing what I loved so it didn’t feel like much work as all 🙂 After the last day of filming, the talent coordinator Jill (who is to credit for taking most of these behind the scenes photos, thanks Jill!) took me out for a night on the town in Ft. Collins! They have an adorable downtown where we did beer tasting at a local brewery, had a delicious dinner, and got to enjoy the festive holiday decor.

I hope you enjoyed getting a peek behind what goes into filming an online knitting course, and if you have any more questions about the process, ask away! If you are interested in learning how to knit, I hope you will join me in my “Learn to Knit” course which starts on April 15th! If you already know how to knit but know someone who would like to learn, I would love if you shared this course with them, it’s a lot of fun! And make sure to be on the lookout for my upcoming course, “Learn to Knit Cables” 🙂
 ♥Lauren